What is the underpinning for basement walls?
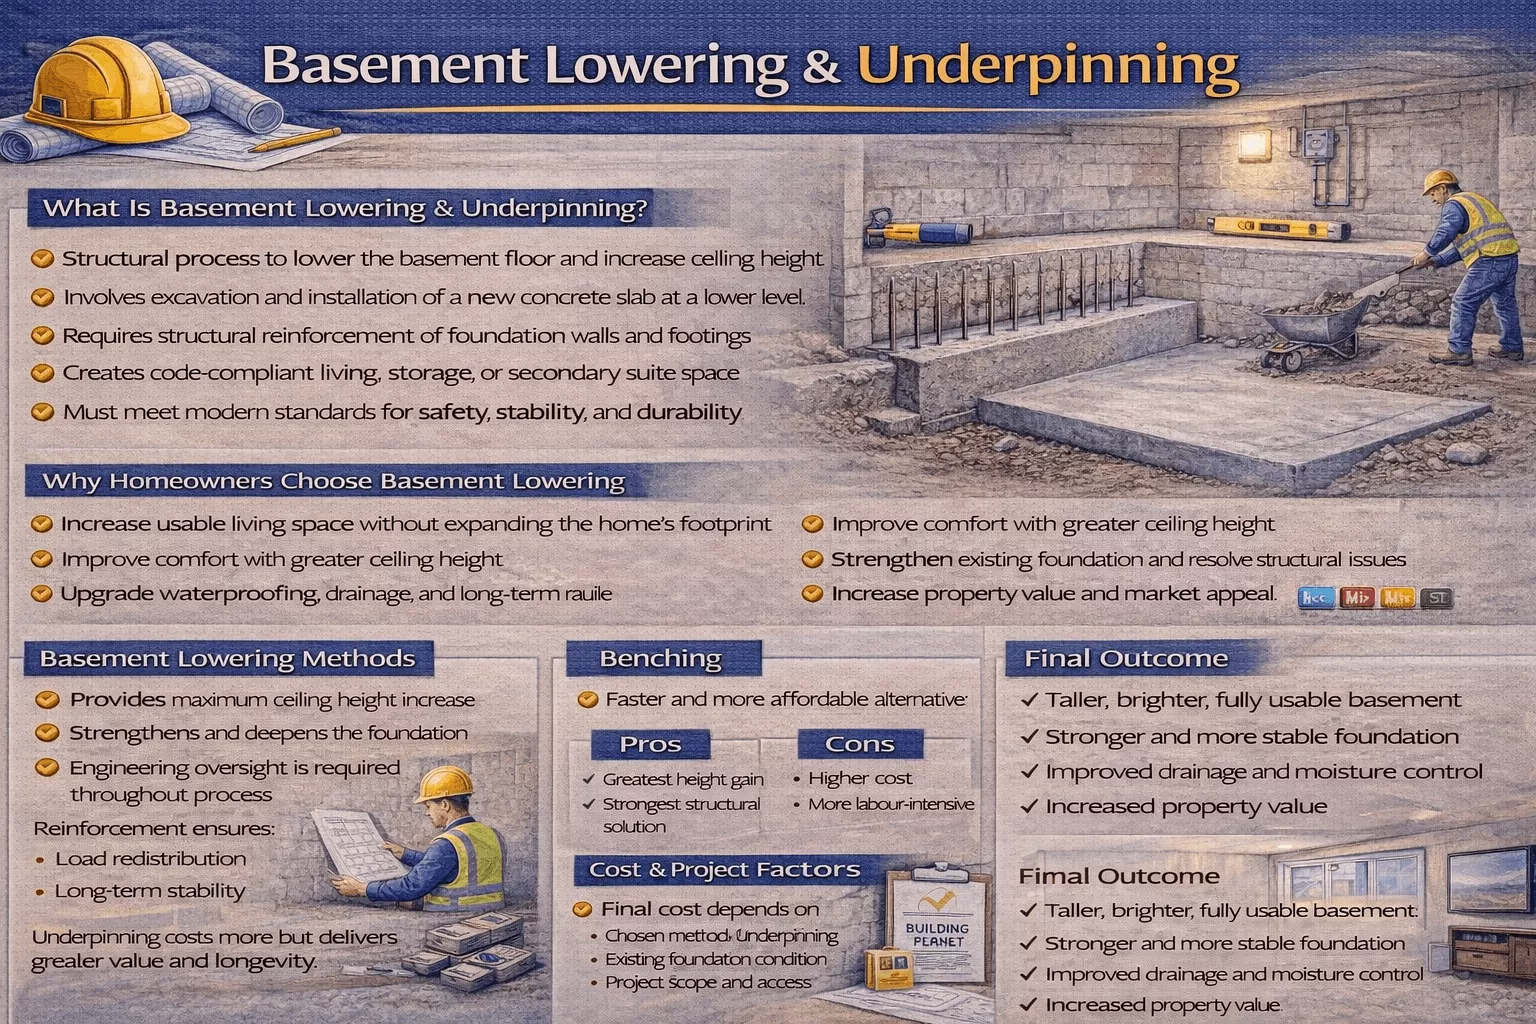
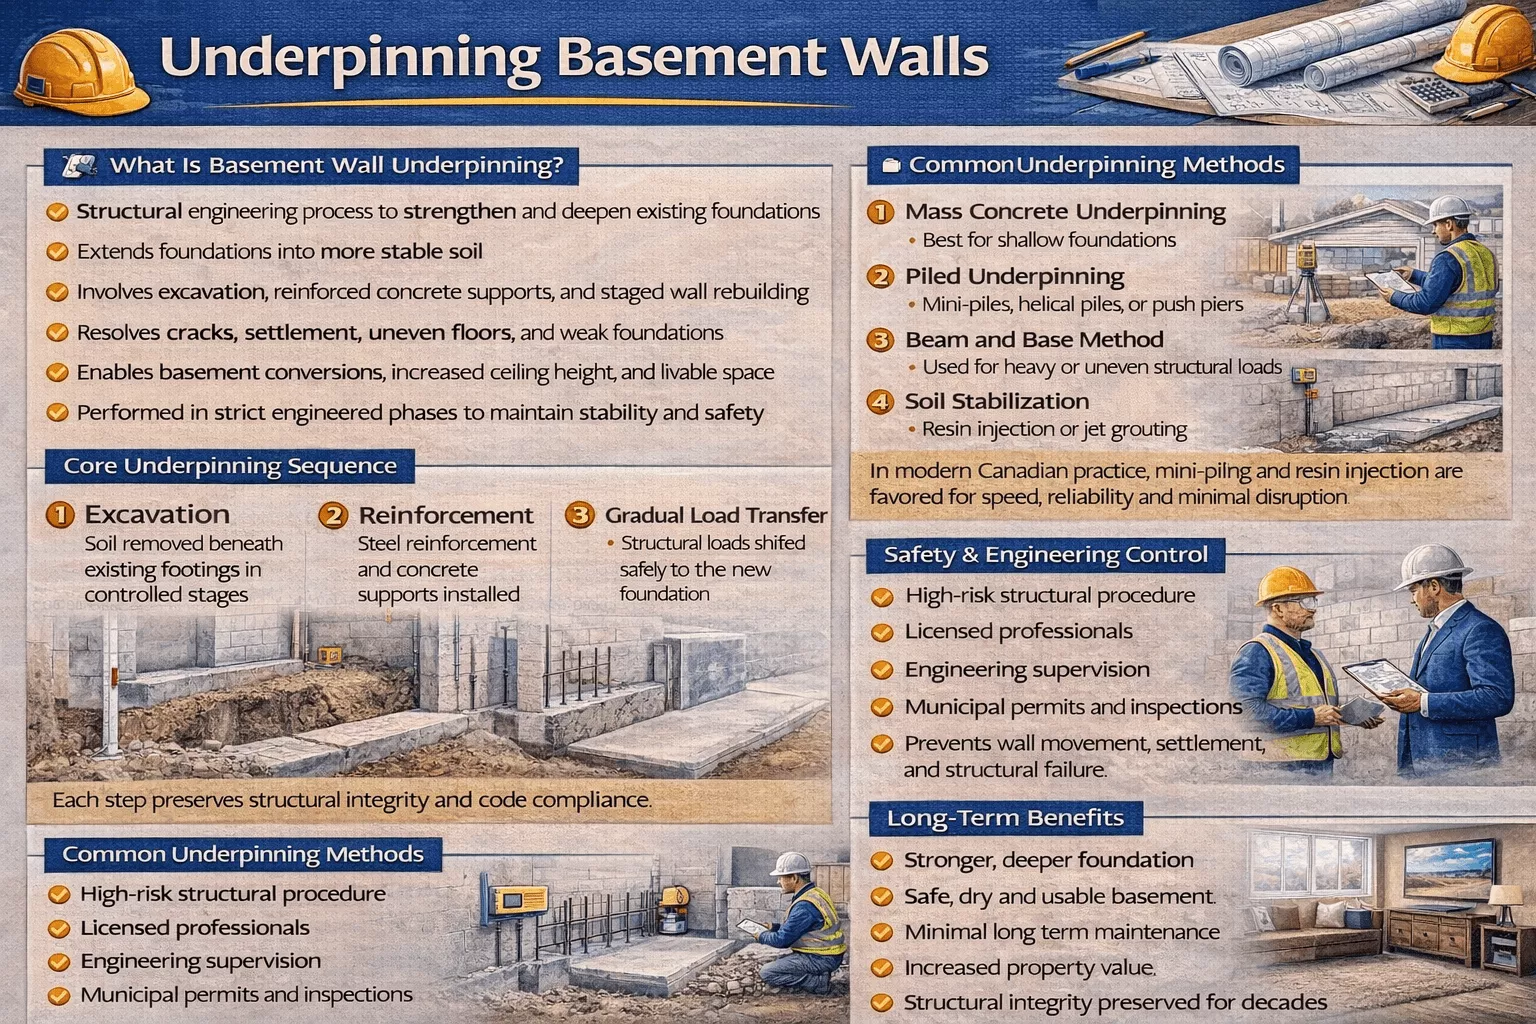
Underpinning for basement walls is a structural engineering process that strengthens and deepens an existing foundation by extending it to a more stable soil level. It involves excavating beneath existing footings, pouring new reinforced concrete supports, and rebuilding walls in sections to maintain stability. This controlled approach lowers the basement floor and replaces it with a new slab at a reduced grade, ensuring the structure remains supported throughout construction.
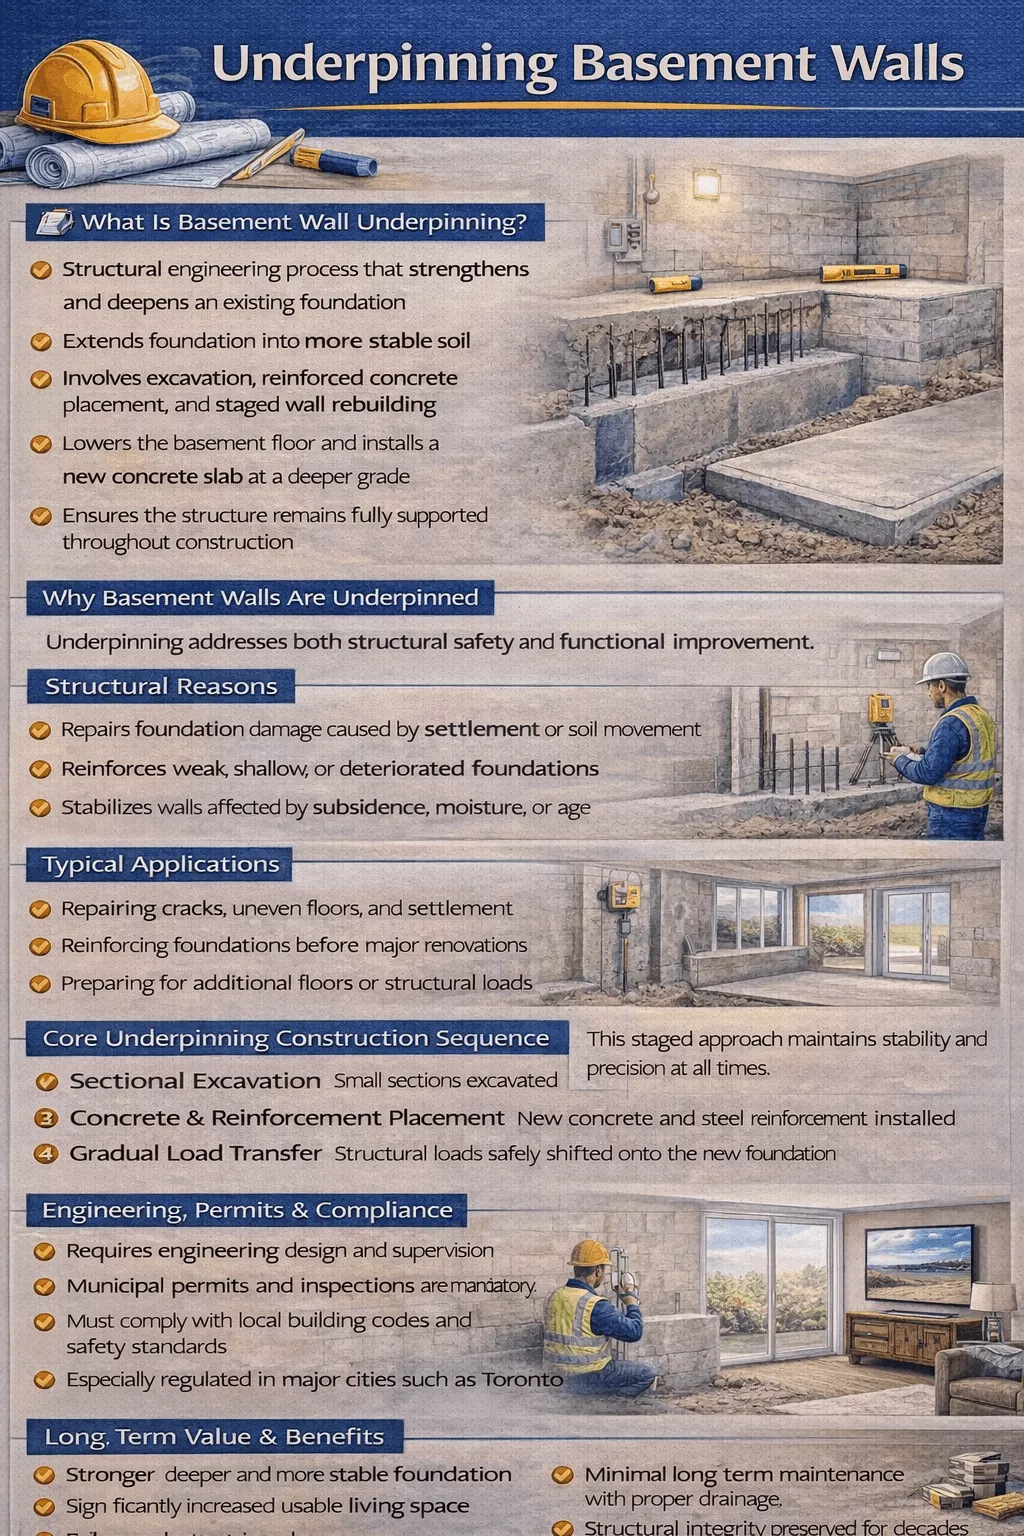
Underpinning is carried out to address both structural and functional needs. It corrects foundation problems such as cracks, uneven floors, and settlement caused by poor soil or age. It also enables homeowners to convert low basements into livable spaces, creating headroom and enhancing property usability.
Typical applications include:
- Repairing foundation damage from settlement or soil movement
- Reinforcing weakened or shallow foundations
- Increasing the basement ceiling height by 2–4 feet
- Preparing foundations for heavy loads or modern renovations
The process follows a sequenced construction method that ensures safety and precision:
- Excavation beneath small sections of the foundation
- Placement of new concrete and steel reinforcement
- Gradual load transfer onto the new supports
- Installation of a new, deeper concrete floor slab
Because underpinning requires engineering design, permits, and specialist contractors, it must comply with local building codes and safety standards, especially in cities such as Toronto. Average project durations range from 12 to 16 weeks, with costs typically between $70,000 and $120,000, depending on site conditions. Despite its cost, underpinning provides enduring value—greater stability, more usable space, and the opportunity to include modern features such as heated floors, larger windows, or walkout access, turning an underused basement into a secure, fully functional living area.
What does underpinning a basement wall involve?
The process of underpinning a basement wall involves reinforcing, strengthening, and extending the existing foundation to a deeper level while maintaining the structural integrity and stability of the walls. This procedure is commonly carried out when a homeowner wants to increase the ceiling height, transforming the basement into a full-height living area, or when the existing foundation requires support due to deterioration, subsidence, land movement, or the need to bear additional structural loads.
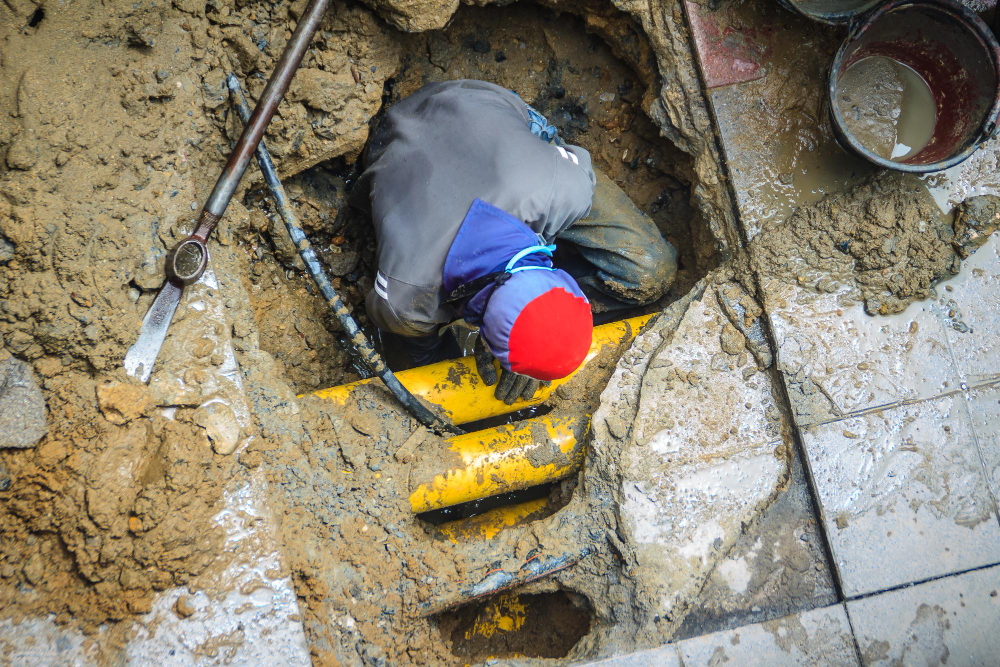
The physical work of underpinning typically consists of excavating a series of holes or sections beneath the existing foundation footing and filling them in a controlled sequence. This step-by-step method strengthens and lowers the footing, usually by pouring concrete under the current foundation to create a new, deeper support layer. The technique used can vary, ranging from mass concrete underpinning and beam-and-base systems to modern methods such as resin injection.
Underpinning is a meticulous and carefully engineered process that must be undertaken by experienced professionals to ensure the foundation can accommodate structural adjustments and load redistribution without compromising stability. Once the new, deeper foundation is complete, the remaining soil inside the basement can be safely excavated, allowing for renovations and the creation of additional usable space.
Why do basement walls require underpinning?
Basement walls require underpinning for several key reasons related to structural stability, foundation integrity, and functional adaptation. Underpinning reinforces the existing foundation to ensure it can support structural adjustments and redistribute loads, making it essential for addressing both current foundation issues and future renovation plans.
Specific situations that make underpinning necessary include:
- Increasing Basement Height: Underpinning is often undertaken when homeowners want to convert a low basement into a full-height living or storage space. This process involves substantial excavation and ensures the foundation can safely handle the new loads and height adjustments.
- Addressing Soil Instability and Subsidence: It becomes essential when the foundation is affected by subsidence, land movement, or soil instability caused by moisture fluctuations, which can compromise the building’s stability.
- Repairing Foundation Deficiencies: Underpinning is used to strengthen structures that were poorly built, have deteriorated over time, or have shallow or inadequate foundations that no longer meet the current site conditions.
- Increasing Load-Bearing Capacity: It is required when the structure’s intended use changes, such as adding new floors or heavier materials, so the foundation can accommodate the extra weight.
- Mitigating External Impacts: Underpinning is necessary after natural events like earthquakes, flooding, or extended droughts, or when adjacent construction or excavation alters soil stability beneath the existing foundation.
Which situations call for the underpinning of basement walls?
The situations that require underpinning of basement walls are generally linked to reinforcing the existing foundation, modifying the structure to create more usable space, or addressing underlying stability concerns.
- To safely lower the basement floor and increase ceiling height, transforming a cold or low-ceiling area into a full-height, comfortable living space.
- When the existing foundation lacks the strength to properly support the structure, either due to age-related deterioration or because it was not originally built to adequate standards.
- To stabilize foundations affected by instability, such as those impacted by subsidence, land movement, or ongoing moisture problems.
- To prepare the foundation for additional structural loads or support modifications that require effective load redistribution.
- To reinforce the structure when the supporting soil requires improvement or stabilization, ensuring it can safely distribute the building’s weight.
What are the main methods used for underpinning basement walls?
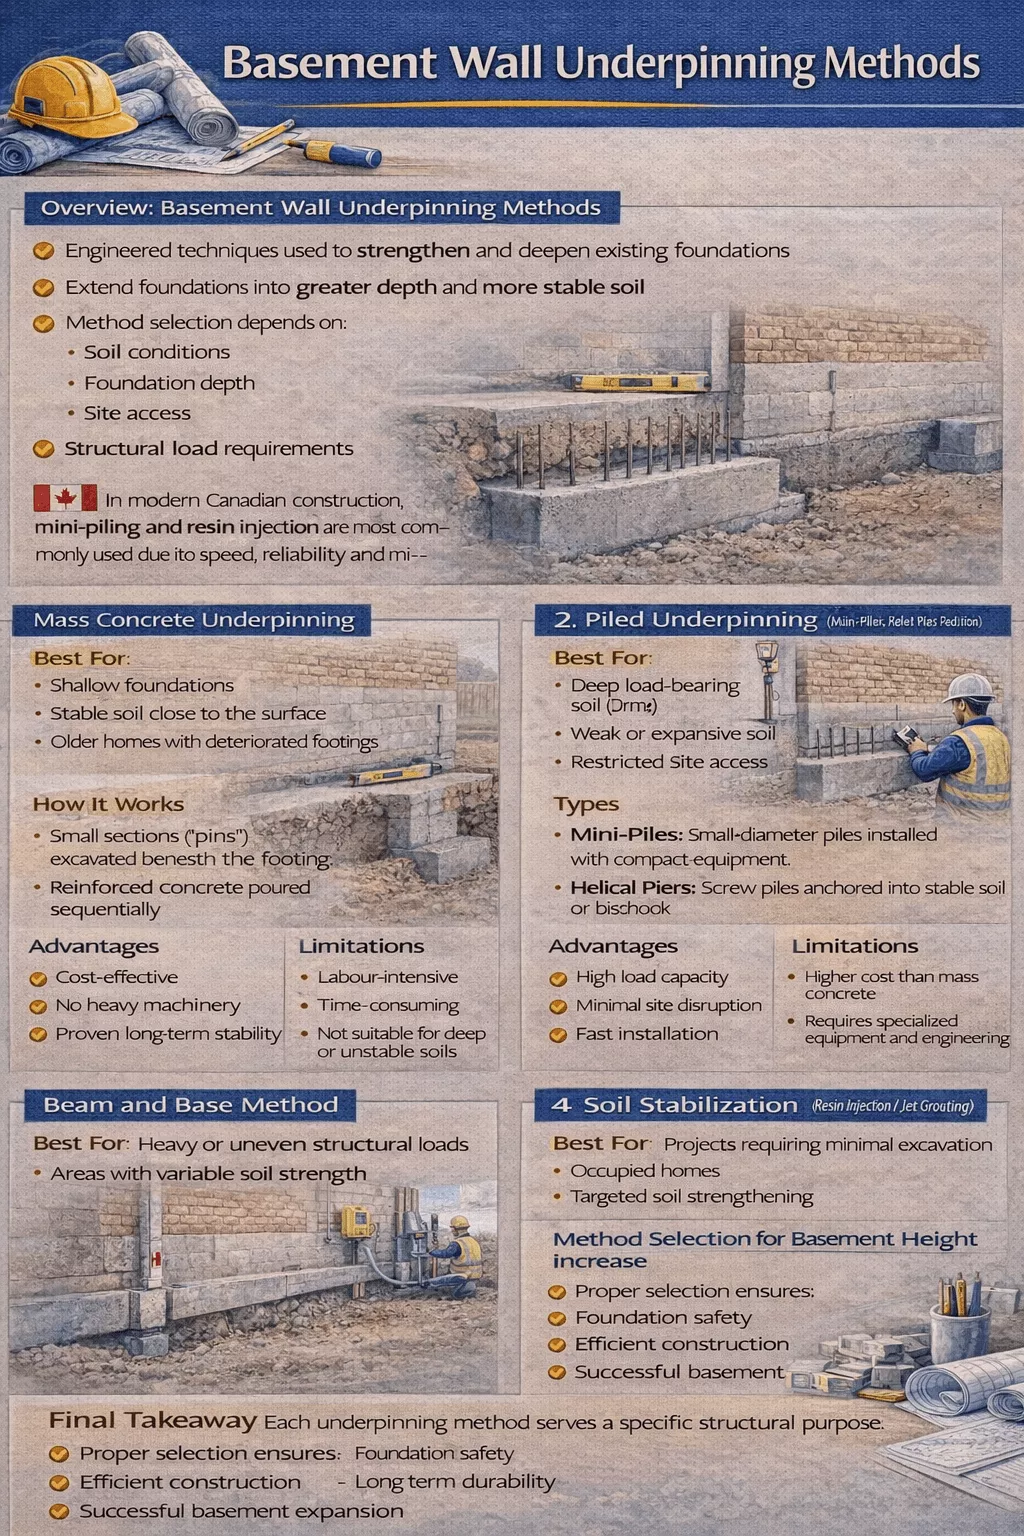
Underpinning basement walls can be achieved through several engineered techniques, each designed to reinforce and extend an existing foundation to greater stability and depth. The main methods are Mass Concrete Underpinning, Piled Underpinning, the Beam and Base Method, and Soil Stabilization. The choice of method depends on soil conditions, foundation depth, site access, and structural load requirements. In most modern projects across Canada, mini-piling and resin injection are preferred because they provide strong, reliable results with less disruption to the property.
Mass Concrete Underpinning:
This is the oldest and most traditional underpinning method, best suited for shallow foundations where stable soil is close to the surface. The process involves excavating small sections beneath the existing footing, known as pins, and then filling each section with reinforced concrete to extend the foundation downward. Once cured, the new concrete footing transfers the building’s load to a deeper, more stable layer.
Advantages: Cost-effective, requires no heavy machinery, and offers proven long-term stability.
Limitations: Labour-intensive, time-consuming, and unsuitable for deep or unstable soil conditions.
Piled Underpinning (Mini-Piled, Helical, and Push Piers):
Piled underpinning is used when stable load-bearing soil lies more than five metres deep or where site access is restricted. It transfers the building’s weight to deeper, stronger strata using steel or concrete piles.
- Mini-piles: Small-diameter piles drilled or driven using compact equipment that fits through narrow access points.
- Helical Piers (Screw Piles): Steel shafts with helical plates screwed into the ground until they reach bedrock or stable soil, then attached to the foundation with steel brackets.
- Push Piers: Steel posts hydraulically driven beneath the footing to lift and stabilize the foundation.
Advantages: Minimal site disturbance, fast installation, ideal for weak or expansive soils, and high load capacity.
Limitations: More expensive than traditional underpinning and requires specialized machinery and expertise.
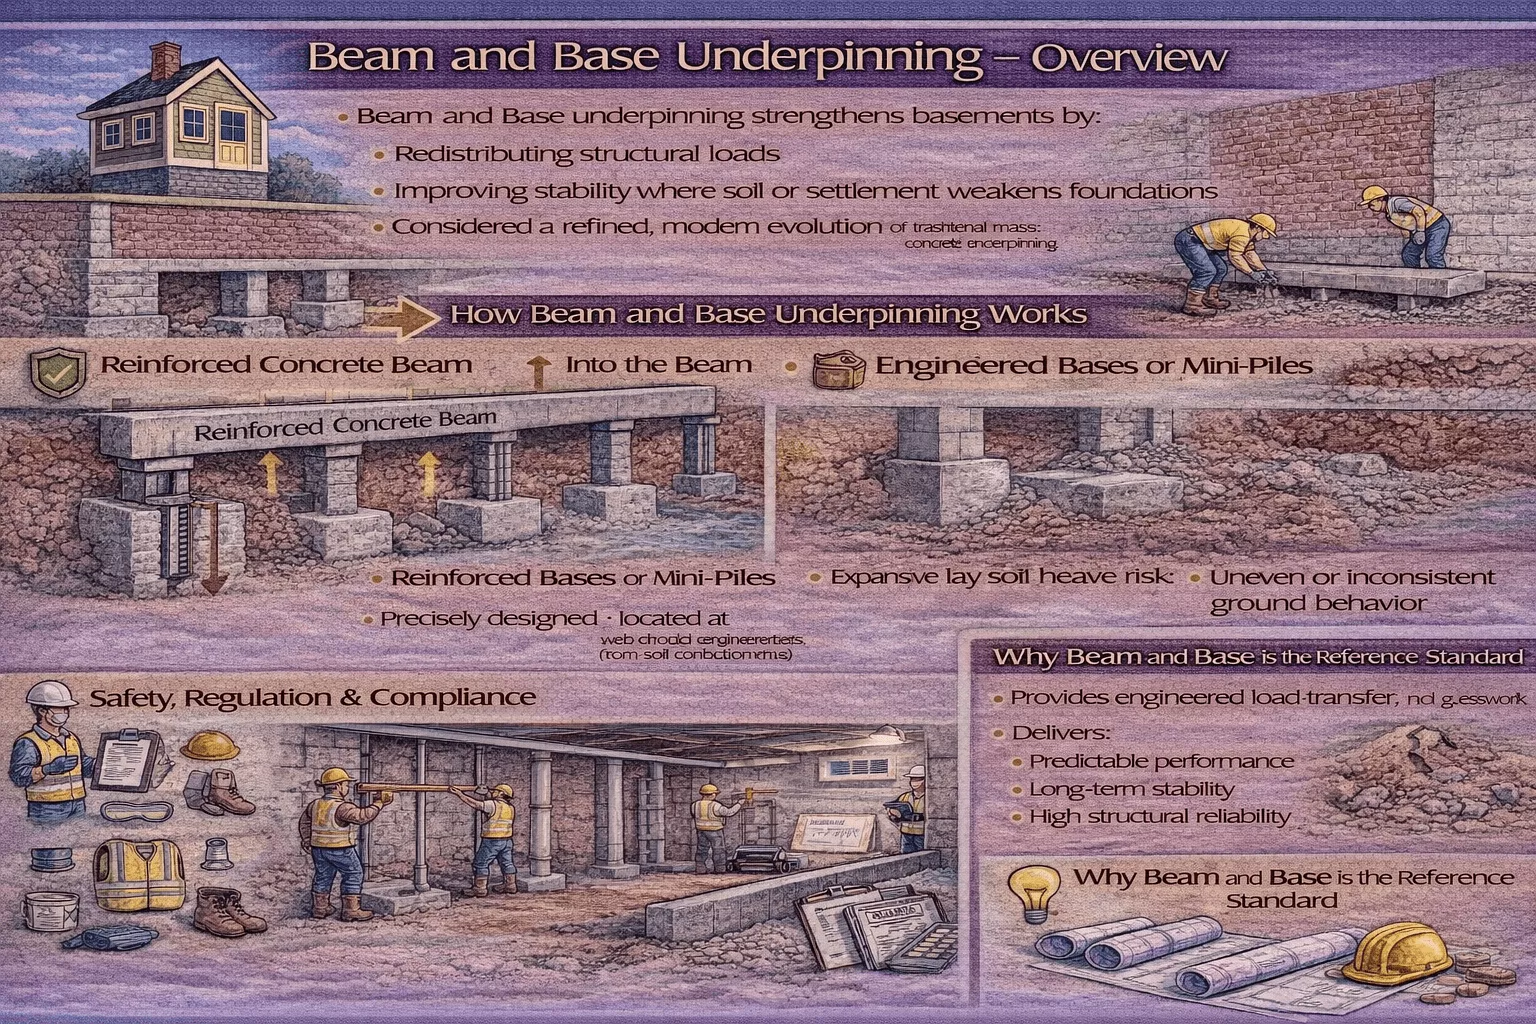
Beam and Base Method:
This method is an adaptation of mass concrete underpinning, designed to spread heavy or uneven loads across multiple points for greater stability. A reinforced concrete beam is installed beneath or in place of the existing footing. The beam transfers the structure’s load to concrete bases strategically placed on stable ground.
Advantages: Provides superior load transfer and stability, and can span over weaker soil areas.
Limitations: Requires precise engineering calculations and is more complex to execute than standard mass concrete underpinning.
Soil Stabilization (Resin Injection / Jet Grouting):
Soil stabilization is a modern, non-invasive method that strengthens the existing soil instead of replacing or adding foundation supports. The process involves injecting chemical grouts or geopolymer resins beneath the foundation, which expand or chemically react to compact and reinforce the soil.
Advantages: Quick installation, minimal excavation, and occupants can remain in the home during the process.
Limitations: Less effective in highly permeable clays or deep foundations and requires careful monitoring to ensure precision and stability.
Modern Application and Selection:
Each underpinning technique has specific advantages and limitations, and the appropriate method depends on factors such as soil type, site accessibility, foundation depth, and structural load. In current Canadian practice, mini-piling and resin injection are the most common choices, as they provide secure, efficient, and long-lasting reinforcement for both residential and commercial basements.
How does mass concrete underpinning work in a basement context?
Mass concrete underpinning is the most traditional and time-tested method, primarily used for shallow foundations where stable soil lies close to the surface. The process involves excavating small, controlled sections beneath the existing footing, known as pins, and then pouring reinforced concrete into each section sequentially. This step-by-step approach ensures that the foundation remains supported at all times while being gradually extended to a deeper level. Once cured, the new reinforced concrete becomes a lower and stronger footing, capable of carrying greater loads and stabilizing the basement walls.
This method is particularly suited for basements in older homes with shallow footings or deteriorated foundations. It is cost-effective, requires minimal machinery, and provides long-term structural reliability, though it can be labour-intensive and is unsuitable for deep or unstable soil conditions.
How are mini-piles, helical piers or jet grouting used beneath basement walls?
Piled underpinning and soil stabilization techniques are modern alternatives used where deep, stable soil layers exist or when access to the site is restricted.
- Mini-piles are small-diameter steel or concrete piles drilled or driven deep into the ground using compact equipment that can fit through doorways or confined spaces. They transfer structural loads to a strong soil layer several metres below the surface.
- Helical Piers (Screw Piles) consist of steel shafts with helical plates that are screwed into the soil until they reach a solid layer or bedrock. These are then connected to the foundation using steel brackets to stabilize and support the basement wall.
- Jet Grouting and Resin Injection are non-invasive soil stabilization methods where expanding chemical grouts or geopolymer resins are injected beneath the foundation. These materials compact and strengthen the existing soil, improving its load-bearing capacity without major excavation.
These systems offer high precision, minimal site disruption, and fast installation, making them ideal for dense urban areas or homes requiring deep underpinning. However, they tend to be more costly and require specialized engineering expertise.
What method is best for basement wall underpinning when elevating the ceiling height and increasing space?
When the objective is to increase headroom or create a full-height basement, the most suitable underpinning method depends on the existing foundation depth and soil stability.
- For shallow foundations with firm soil, Mass Concrete Underpinning or the Beam and Base Method is most effective. These methods allow the floor to be excavated after new underpinning is installed, safely lowering the basement floor and increasing ceiling height without jeopardizing structural balance.
- For deeper foundations or unstable ground, Mini-Piled Underpinning offers superior strength and adaptability. It can safely redistribute loads while supporting extensive excavation for basement expansion.
- In cases where minimal disruption is required, Resin Injection (Soil Stabilization) can be used to strengthen the soil beneath the foundation, providing stability while reducing the need for large-scale excavation.
In contemporary Canadian construction, mini-piling and resin injection are the preferred choices for basement conversions, offering the best combination of security, efficiency, and long-term performance when creating additional livable space.
What are the risks and regulatory requirements when underpinning basement walls?
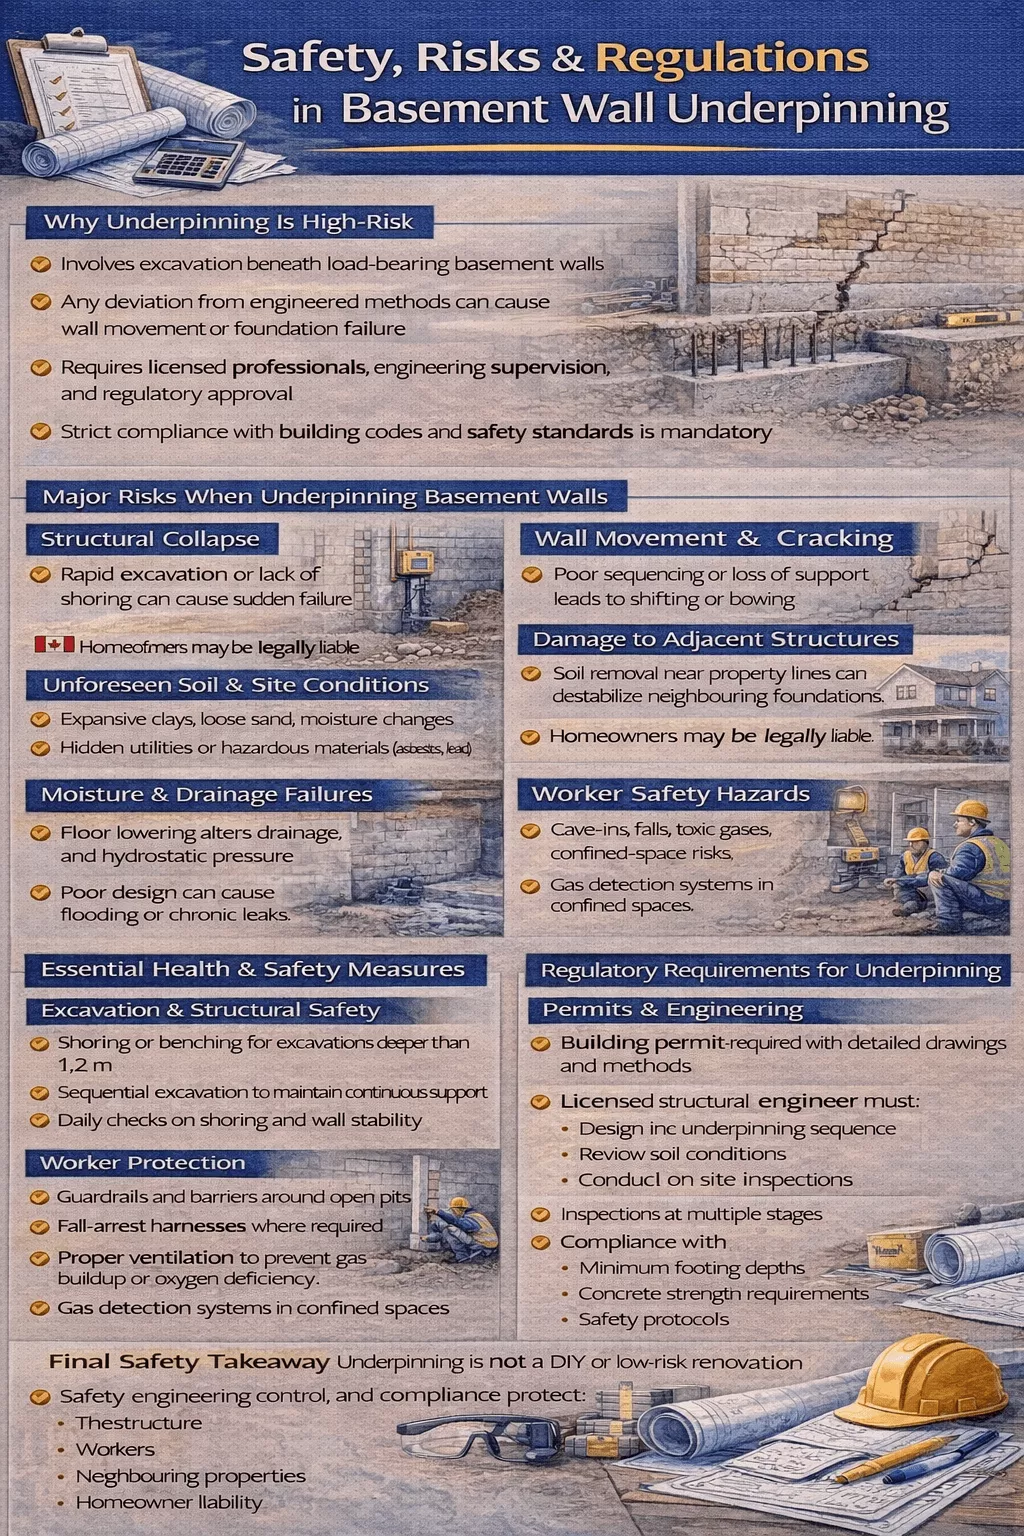
Underpinning basement walls is a high-risk structural procedure requiring precise engineering control, qualified supervision, and strict regulatory compliance. It involves excavating beneath load-bearing walls and reinforcing the existing foundation to reach stable soil. Any deviation from approved methods can lead to serious safety hazards, wall movement, or foundation failure. For this reason, underpinning must always be undertaken by licensed professionals following local building codes and safety standards.
Risks When Underpinning Basement Walls
The most significant risks stem from foundation instability, soil movement, and construction hazards that can compromise both the building and adjacent structures.
- Structural Collapse: Excavating too quickly or without proper shoring can cause immediate wall movement or total failure of the foundation.
- Wall Movement and Failure: Partial loss of support or poor sequencing may cause walls to shift, bow, or crack, endangering the structural integrity of the building.
- Damage to Adjacent Structures: Removing soil near property lines can destabilize neighbouring foundations, resulting in cracking, settlement, or collapse, for which the homeowner may be legally liable.
- Unforeseen Soil or Site Conditions: Expansive clays, loose sand, or moisture variations can undermine stability. Unexpected utility lines, debris, or hazardous materials (e.g., asbestos or lead paint) add environmental and health risks.
- Moisture and Drainage Problems: Lowering the basement floor can alter drainage paths and hydrostatic pressure, leading to water infiltration or flooding if waterproofing and drainage systems are not properly designed.
- Workmanship Quality: Inadequate concrete curing, misplaced footings, or deviation from engineering specifications can cause long-term instability and uneven load transfer.
- Worker Safety Hazards: Excavation zones pose multiple hazards such as falls, cave-ins, toxic gases, inadequate ventilation, and heavy equipment incidents, demanding strict adherence to safety measures.
What health & safety measures are essential during basement wall underpinning?
Because underpinning occurs in confined and unstable environments, health and safety protocols are critical to preventing injuries and structural accidents.
- Shoring and Support Systems: All excavations deeper than 1.2 m must be properly shored or benched to prevent cave-ins and wall collapse.
- Fall Protection: Open pits and lowered floor sections must be guarded with railings or barriers, and workers must use approved harnesses where necessary.
- Air Quality and Ventilation: Adequate airflow is required to prevent the buildup of noxious gases or oxygen deficiency in enclosed areas.
- Heavy Equipment Safety: Only trained operators may use hydraulic jacks, drills, and lifting devices, maintaining safe clearance from walls.
- Hazardous Material Handling: Any discovery of asbestos, mould, or lead paint must be managed under certified abatement procedures.
- Personal Protective Equipment (PPE): Workers must wear hard hats, steel-toe boots, gloves, respirators, and eye protection throughout the process.
- Site Monitoring and Inspection: Supervisors must perform daily checks on shoring integrity, gas detection, and worker access routes.
Implementing these measures minimizes the risk of injury, collapse, and contamination, ensuring the site remains compliant with provincial safety laws and OSHA-equivalent standards.
Regulatory Requirements for Underpinning Work
Underpinning is legally recognized as a major structural modification and is governed by strict building and occupational regulations.
- A building permit is mandatory, supported by detailed plans, excavation depths, and construction methods.
- A licensed structural engineer must design and oversee the underpinning sequence and conduct on-site reviews when working near adjacent structures.
- Work must comply with local building codes specifying concrete strength, minimum footing depth, and safety protocols.
- Municipalities may require neighbour notifications and pre-construction condition surveys to document existing conditions and limit liability.
- Municipal inspections occur at various stages to confirm compliance with approved drawings and safety standards.
- Occupational Safety Regulations (provincial or OSHA equivalent) require proper excavation support, fall protection, confined-space safety, and hazardous material management.
Consequences of Non-Compliance
Failure to follow structural and safety regulations can lead to severe legal and financial repercussions. Penalties include fines, site shutdowns, and denial of final approval, leaving the work non-certifiable and uninsurable. In serious cases, negligence resulting in wall movement, collapse, or property damage can expose contractors and homeowners to lawsuits and costly remediation.
How do you choose a contractor and prepare your site for underpinning basement walls?
Choosing the right contractor and preparing your property properly are the foundations of a successful basement underpinning project. Since underpinning is a high-risk structural renovation, it must be completed by qualified professionals with proven expertise. Begin by selecting a licensed and insured contractor, confirm coverage for both liability and workers’ compensation, and avoid hiring general builders unfamiliar with structural work.
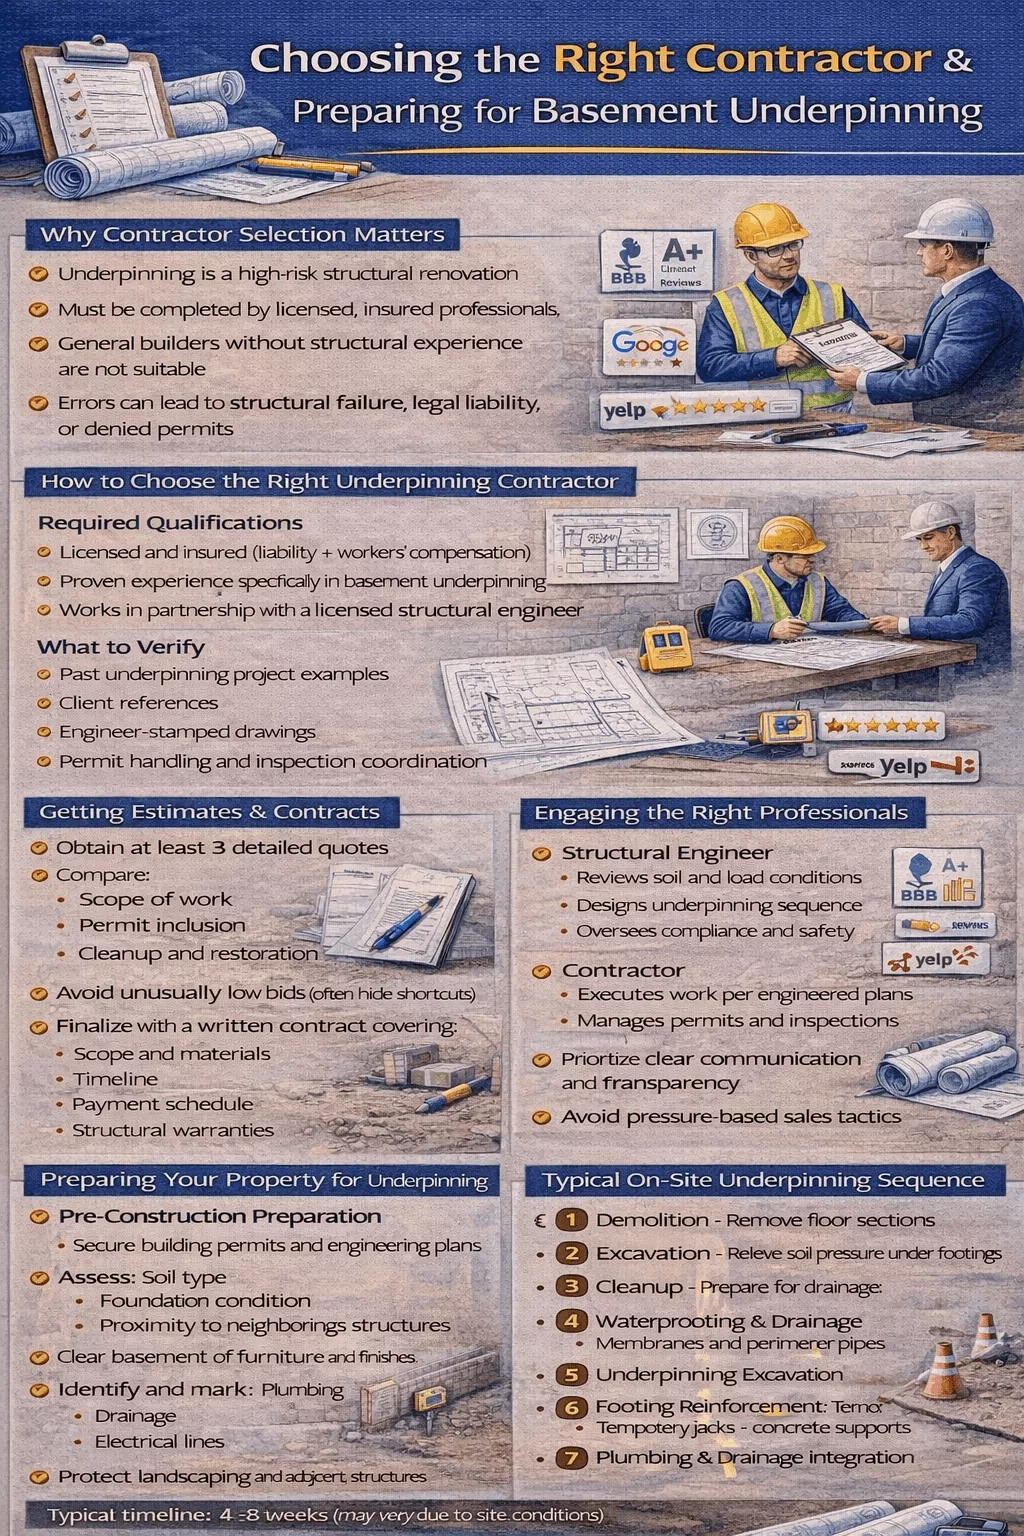
Look for specialized experience in basement underpinning, not just general construction or waterproofing. Review examples of past projects and client references to verify their capability. A reputable contractor should collaborate with a licensed structural engineer, who provides stamped drawings, assesses soil conditions, and ensures compliance with local building codes. Research the contractor’s reputation and reliability through sources such as the Better Business Bureau (BBB), Google Reviews, and Yelp, paying attention to how they address complaints.
Always obtain multiple, detailed estimates, ideally from three contractors, and compare the scope of work, permit handling, and cleanup details. Avoid suspiciously low bids, which may hide poor materials or skipped permits. Finalize the selection with a written contract that clearly defines the work scope, materials, payment schedule, timeline, and warranty coverage for structural work.
Engaging the Right Professionals
Underpinning projects require more than one professional. In addition to the contractor, a structural engineer plays a crucial role in evaluating load-bearing elements, reviewing designs, and supervising the work sequence. This partnership ensures the project meets municipal regulations and technical standards. The contractor should also handle all building permits and municipal inspections, confirming that each stage aligns with approved plans and safety codes. When assessing proposals, prioritize those demonstrating transparent communication, professionalism, and clear scheduling rather than high-pressure sales tactics. Trust and collaboration between the homeowner, contractor, and engineer are essential for a safe and efficient underpinning process.
Preparing Your Site for Underpinning
Proper pre-construction preparation safeguards the structure and facilitates an efficient workflow. Start by obtaining building permits and engineering plans before any physical work begins. Your contractor can help navigate the permit application process, including submission of drawings, excavation specifications, and fees. Next, assess site conditions, soil type, foundation state, and proximity to neighbouring structures, to determine underpinning suitability. Once approved, prepare the site by clearing the basement area of furniture, flooring, and personal belongings to provide unobstructed access for workers and equipment. Identify and mark all utilities, such as plumbing, drainage lines, and electrical conduits, to prevent accidental damage during excavation. Take steps to protect existing structures and landscaping from vibration or soil movement.
Plan for temporary disruption during construction, expect noise, dust, and restricted access for several weeks. Ensure the contractor has clear access routes for machinery, excavation tools, and concrete delivery. If your project involves shared property boundaries, coordinate with neighbours and follow local acts, such as the Party Wall Act, to maintain good relations and compliance.
Understanding the On-Site Sequence
During site preparation, underpinning follows a precise and staged sequence to maintain safety and stability. The process typically involves:
- Demolition: Breaking the concrete floor in sections to expose existing foundation footings.
- Excavation: Removing soil and relieving hydrostatic pressure beneath the foundation.
- Cleanup: Clearing debris and preparing for drainage installations.
- Waterproofing and Drainage: Installing dimpled drainage membranes and perforated pipes along wall perimeters to control moisture.
- Underpinning Excavation: Extending existing footings 24–36 inches deeper to reach stable soil.
- Footing Reinforcement: Installing temporary jacks and new concrete supports under load-bearing walls.
- Plumbing and Drainage Integration: Laying new drainage lines and plumbing systems.
- Concrete Pouring: Finishing the project with a newly poured floor slab.
This systematic approach can increase basement height by several feet while preserving living space. A well-organized contractor should provide an accurate project timeline, typically 4–8 weeks, and prepare for potential delays due to unforeseen site conditions.
Outcome and Value
A well-executed underpinning project enhances both the structural integrity and market value of your home. When guided by qualified experts, backed by proper permits, safety planning, and engineering oversight, underpinning not only improves basement functionality but also ensures long-term stability for the entire foundation. Proper preparation and contractor selection are therefore essential investments, protecting your property, ensuring compliance, and delivering lasting results.